Docs
Getting started
Open a PDF, choose a mode and a sheet, add marks, export. The whole path from source file to press-ready sheet in one pass.
FastImpose is a native desktop application for macOS and Windows. There is no upload step and no account: you open a PDF from your disk, describe the sheet you want, and write a new PDF next to it. This page is the whole path once through, with nothing skipped.
Open the source PDF
Open the file you want to impose. The pages you see are the pages that will be placed — FastImpose does not modify the source, and it never writes back to it.
Choose a mode
Four modes, and the choice determines what happens to page order. N-Up places consecutive pages across the grid. Step and Repeat repeats one page into every position. Cut & Stack orders pages down the pile so a guillotined stack reads in sequence. Booklet pairs pages into folding order. If you are unsure, choosing an imposition mode compares them side by side.
Set the sheet
Pick a paper format — A4, A3, A5, Letter, Legal, Tabloid — or Custom with an explicit width and height. This is the paper going through the machine, not the size of your pages. Exact dimensions are on paper sizes.
Set the grid and the spacing
Rows and columns both default to 1, so a fresh job is 1-up until you say otherwise. Gap X defaults to 1 mm and Gap Y to 2 mm. If the pieces bleed, set the gaps to at least twice the bleed before you go any further — bleed and gutters explains why. Turn on Automatic placement if you would rather the grid was derived from the sheet and page sizes.
Scale to fit, and leave room for the marks
Scale is applied to the placed page, not the sheet, and is always proportional. Leave at least 8 mm of clear sheet beyond every outside trim edge — 3 mm of mark distance plus a 5 mm mark — or the crop marks have nowhere to go.
Turn on crop marks
Length 5 mm, distance 3 mm from the trim, thickness 0.25 pt. These are crop marks only; there are no registration marks, fold marks or colour bars. See crop marks.
Decide duplex before you print, not after
Duplex is on by default, and so is the 180° back-flip that keeps the backs upright. It requires Duplex. Which setting is correct depends on how your machine turns the sheet, so run the one-sheet test on duplex and flip before committing a run.
Add a slug line and sheet numbers if the job needs tracking
Both print outside the trim and are cut off in finishing. Numbering is available in every mode except Booklet. See slug line and sheet numbering.
Export, then check sheet 1
Write the imposed PDF and open it. Look at three things on the first sheet: the marks are on the sheet and clear of the artwork, the gutters are not overlapping, and — if the job is duplexed — the back is oriented the way you expect. Thirty seconds here is the cheapest check in the whole process.
A first job, end to end
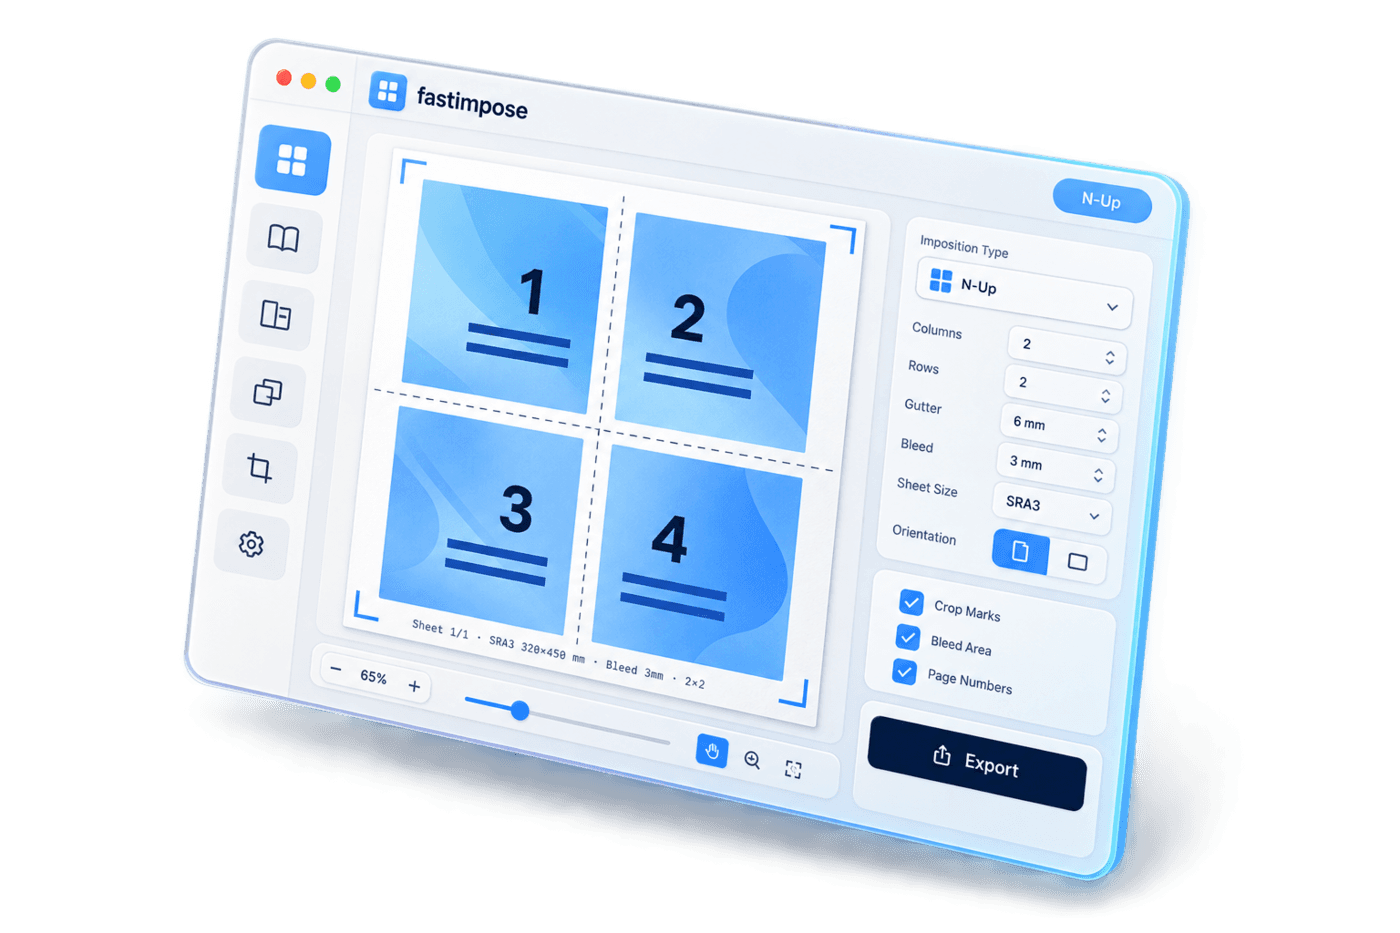
If you want something concrete to try: take any 24-page A4 document, choose N-Up, set the sheet to A3, rows 2 and columns 2, scale 65%, gaps at their defaults, and crop marks on. You will get six sheets single-sided or three duplexed, each carrying four pages at 136.5 × 193 mm with roughly 11 mm of margin at the sides and 16 mm top and bottom — enough for the marks, with room to spare.
What happens to your file
Source pages are carried through as vector form XObjects. Nothing is rasterised, nothing is resampled, and no colour is converted at any point. What goes in comes out, placed and transformed. The reasoning behind that — and the things it deliberately does not do — is on format notes.
If the job is rejected, troubleshooting lists every rule that can refuse it and what each message means.